All of that changed today. I made a decision: I'm going to do something that hasn't been documented before. So I decided to try to get an Avaya SBCE installed in an environment that is not officially supported - Proxmox.
I had to make two attempts. I wasn't able to get the system to boot when I used the qcow2 image that was available from Avaya, so I blew that machine away and created a new VM with no OS. I'm not going to go into the failed install - I learned from my failures so that you can succeed on your first try.
I chose to do EMS+SBCE for my deployment rather than separate out the servers. I will document the differences that would be necessary to have a standalone EMS. A standalone SBCE has the same configuration.
First, I had to build the VM. In order to determine how to configure it, I looked at the Avaya documentation. I mostly went with the Small SBC because I'm just doing a Proof of Concept, and not a production system. I did opt to go with six network interfaces though. If I were deploying a true production system I would have created one SBC and one EMS.

In Proxmox, I clicked on Create VM and started to build by virtual machine. On the General tab I selected my Proxmox node and entered the VM name. I accepted the VM ID that was automatically created.


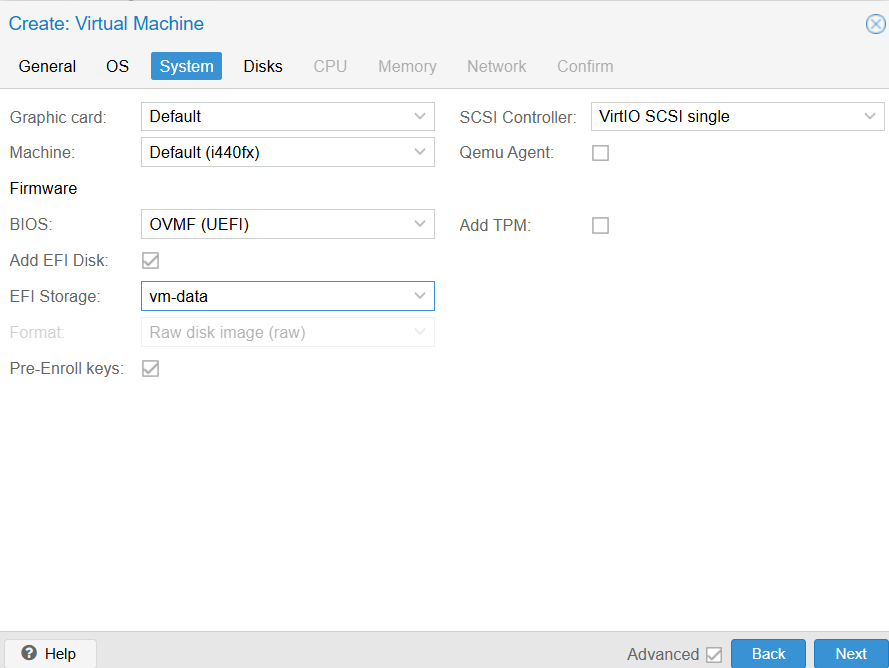


You can't configure more than one NIC during the initial setup of a virtual machine in Proxox, so I left the existing interface in place on my default bridge.

I reviewed the configuration and made sure that I did not have Start after created checked - I need to add the additional network interfaces before I do that.
I have configured VLAN 11 as my trusted network and VLAN 12 as my untrusted network. VLAN 11 is not able to reach the Internet, and VLAN 12 is only able to reach the Internet. I ran through the installation without knowing what order the interfaces were going to be in, so after I started up the machine I confirmed the interface order. Next time I'll assign the VLANs when I create the interfaces. Of course, it's important to confirm the MAC Addresses after the system comes up.
M1: net0 Management VLAN
M2: net1 Segregated network for HA
A1: net2 Inside network 1
B1: net3 Outside network 1
A2: net4 Inside network 2
B2: net5 Outside network 2
Once the network interfaces were added I started the virtual machine. It took a minute but the Linux installer began. I selected the default option: Install ASBCE with Redhat Enterprise Linux 8.10. In retrospect, I couldn't help but wonder if the proper choice should have been Install ASBCE RHEL8.10 using CDROM. If I do it again I will select the CDROM option.


I selected Option 1 to configure using Command Line Mode. I was prompted for the basic configuration.


The time zone selection was next - first a region, then a country, and finally a time zone.


I did not have a proper NTP server configured, so the system did kick back an error that I didn't capture - it was asking me to set a proper NTP server. I selected Option 3 - to skip NTP.
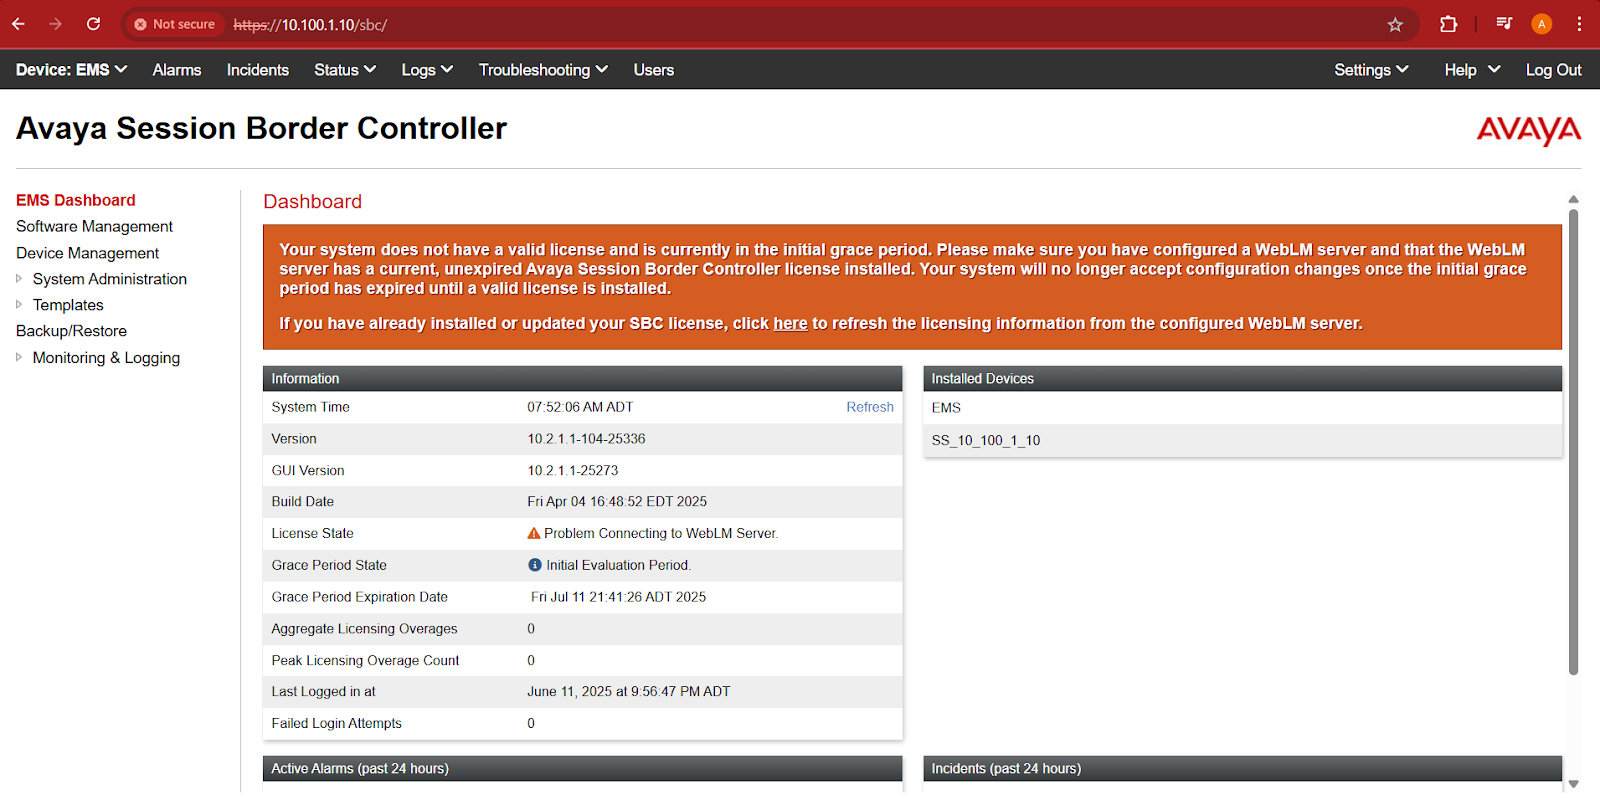
Now I'm able to reach the SBC web interface.

Oh wow, you made it to the end of the post! As a reward, enjoy this link to my tech blog. https://blog.aarondydck.ca/
No comments:
Post a Comment